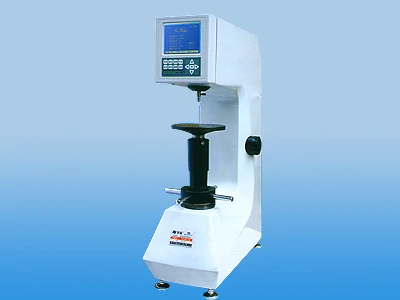
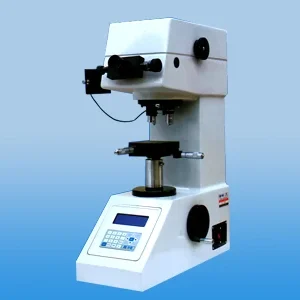
Leverage loading, automated experimental process
| Main features | Application scope |
| lSturdy construction, good rigidity, precision, reliability, durability, high testing efficiency | Rockwell: Determination of Rockwell hardness of ferrous, non-ferrous, and non-metallic materials
Apply to Rockwell hardness measurement of heat treated materials such as quenching and tempering |
| Optimized mechanical structure and diamond shaped exterior design | |
| Automated testing process with no human error in operation | |
| Have two national patents | Surface Rockwell: Determination of surface Rockwell hardness of ferrous metals, alloy steels, hard alloys, and metal surfaces after treatment (carburizing, nitriding, electroplating) |
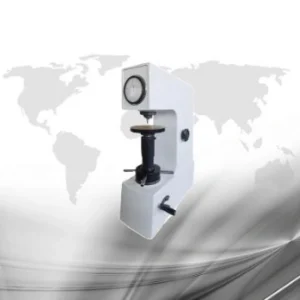
| Direct dial reading
200HSRD-45: HRN, HRT ruler (optional with other Surface Rockwell rulers) 200HRD-150: HRA, HRB, HRC ruler (optional with other Rockwell rulers) |
|
| Accuracy meets GB/T230.2, ISO 6508-2 and ASTM E18 | Especially suitable for precise measurement of parallel planes |
| Main technical specifications | |
| Measuring range | 200HRD-150: 20-88HRA,20-100HRB, 20-70HRC |
| Experimental force | 200HRD-150: 588.4, 980.7, 1471N(60, 100, 150Kgf) |
| Maximum allowable sample height | 210mm |
| Distance from the center of the pressure head to the machine wall | 165mm |
| Hardness resolution | 200HRD-150: 0.5HR |
| External dimensions | 522×293×729MM |
| Weight | About 98Kg |
| Standard equipment |
| • Large test bench: 1 • Small test bench:1 • V-shaped test bench:1 |
| • Diamond cone indenter: 1 • 1/16’’ Steel ball pressure head:1 |
| • 200HRD-150 Rockwell hardness standard block :5 |
